


How to Set Up Windows 11 for the First Time

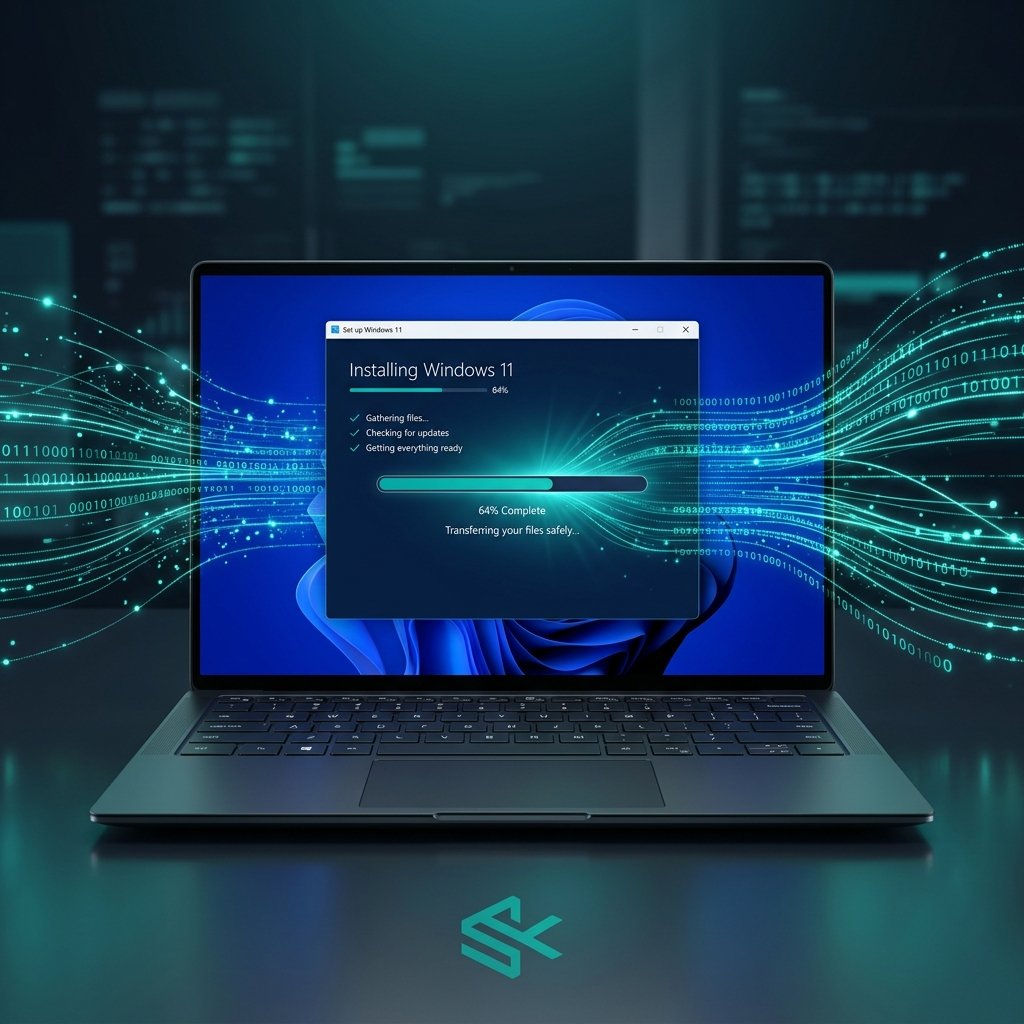
Are you staring at the brand new “Out of Box Experience” (OOBE) screen and wondering how to set up Windows 11 for the first time? This complete Windows 11 first time setup guide will walk you through every step, from selecting your region to activating your genuine Windows 11 Professional or Home license key.
1. The Initial Configuration: Region and Keyboard
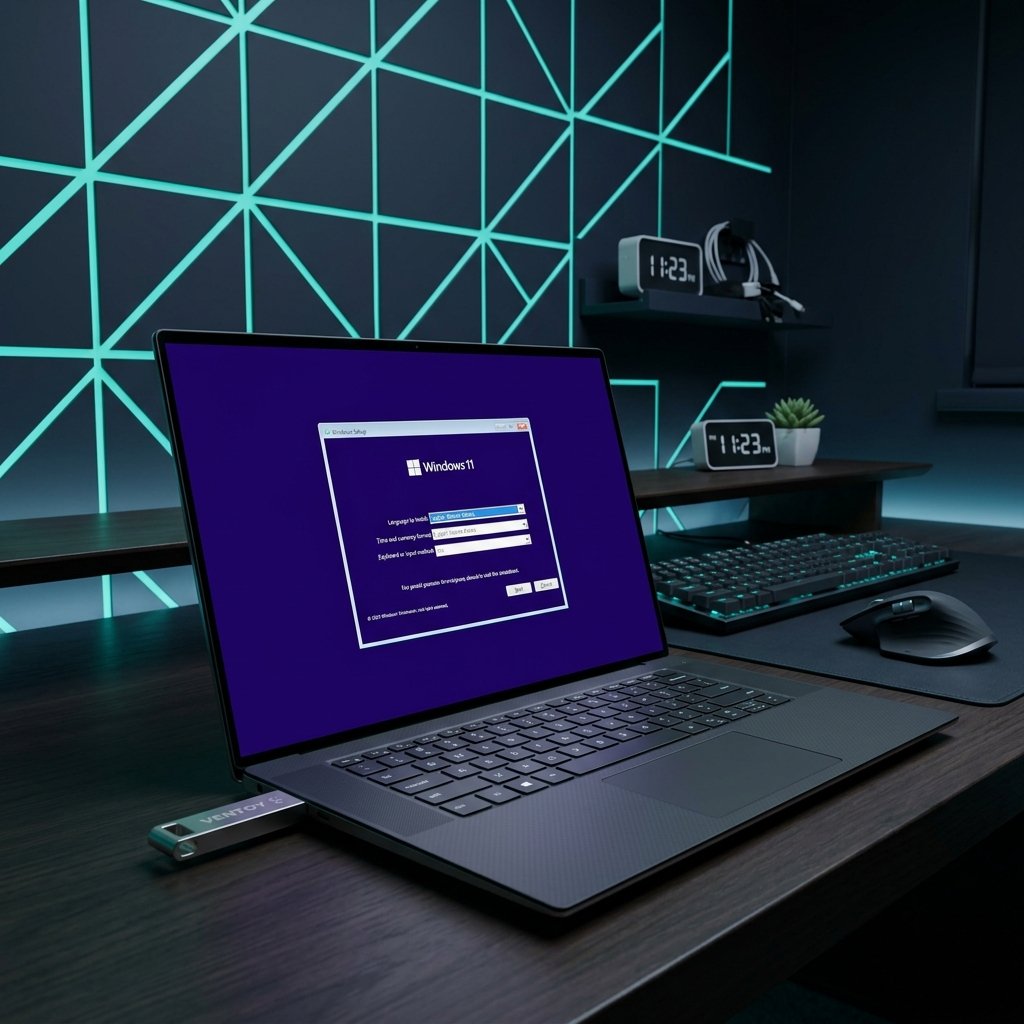
When you first turn on your new PC (or boot from a fresh installation USB), Windows 11 will greet you with a sleek setup screen. The first steps are simple but essential:
- Select your Country/Region: Scroll through the list, select your location, and click Yes.
- Choose your Keyboard Layout: Select the layout that matches your physical keyboard (e.g., US, UK). You can also add a secondary layout if you type in multiple languages.
2. Connecting to the Internet
Windows 11 requires an active internet connection to complete the setup process and download critical security updates.
- A list of available Wi-Fi networks will appear.
- Select your home network, enter your password, and click Connect.
- Once connected, click Next. Windows will quickly check for any pending updates before proceeding.
3. Adding Your Microsoft Account
For a seamless experience across all your devices, Windows 11 heavily encourages linking a Microsoft account.
Why use a Microsoft Account?
Using a Microsoft account allows you to sync your settings, back up your files via OneDrive, and securely link your Windows 11 Home or Pro digital license to your account. This makes reactivating Windows in the future much easier!
- Enter your existing Microsoft email address (Outlook, Hotmail, Live) and password.
- If you don’t have one, click Create one! to set up a new account.
- Set up a PIN. This is a faster, more secure way to unlock your PC every day without typing your full password.
4. Privacy Settings and Personalization
Microsoft will ask you to choose your privacy settings for things like location tracking, diagnostic data, and personalized ads. We recommend reading through these carefully and toggling off anything you don’t feel comfortable sharing. Once you accept, you will be given options to personalize your experience (e.g., Gaming, Creativity, Business). You can select these to get tailored tips, or simply click Skip.
5. Activating Windows 11
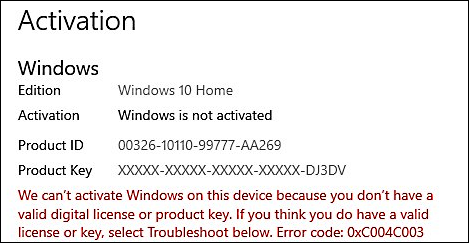
Once you reach the desktop, your final step is to ensure your operating system is fully activated and genuine.
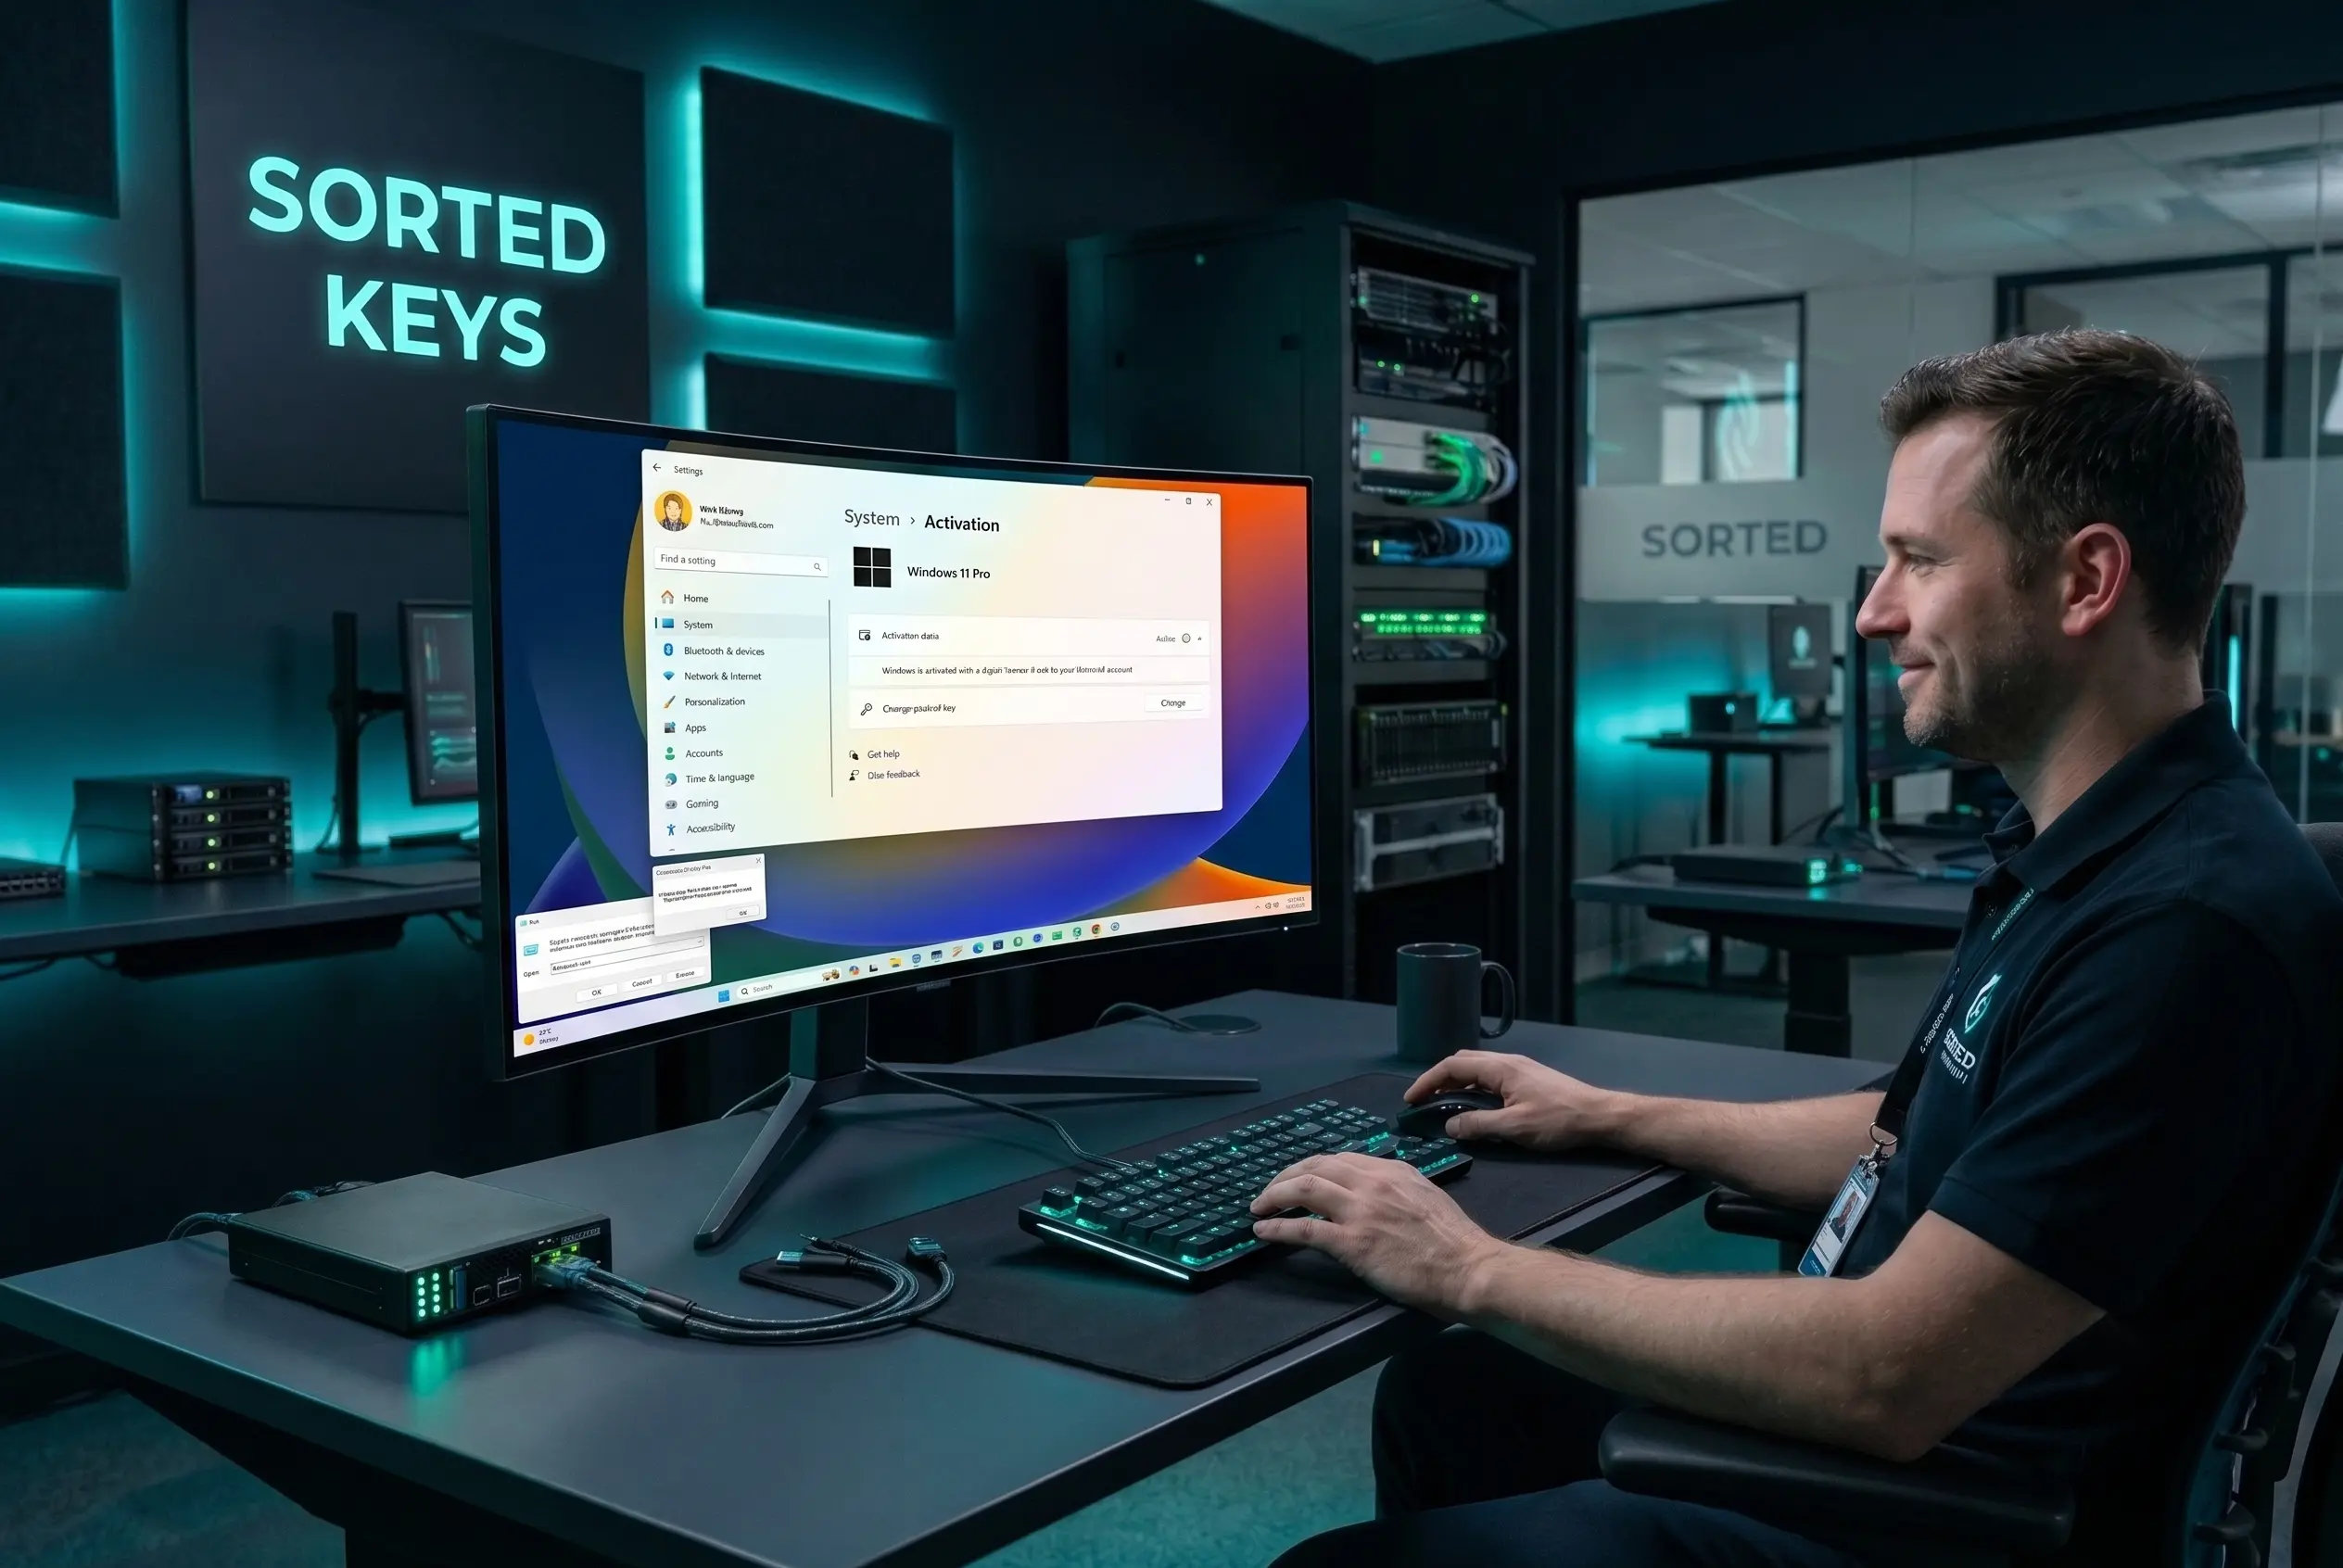
- Click the Start button and open Settings.
- Navigate to System > Activation.
- If your PC isn’t activated, click Change Product Key and enter your 25-character license key.
For a more detailed walkthrough on this specific step, check out our complete guide on how to activate Windows 11 with a product key.
Frequently Asked Questions (FAQ)
Can I set up Windows 11 without a Microsoft account?
Officially, Windows 11 Home and Pro require a Microsoft account and internet connection for the initial setup. While there are advanced bypass methods, using a Microsoft account is highly recommended to secure your digital license.
Do I need a product key immediately during setup?
No. You can click “I don’t have a product key” during the installation phase and complete the setup. However, you will need to purchase and enter a genuine key later to unlock personalization features and remove the activation watermark.
How long does the first-time setup take?
Depending on your internet speed and hardware, the entire process usually takes between 10 to 20 minutes from the first screen to reaching the desktop.