




How to Clean Install Windows 11 Without Losing Your Files

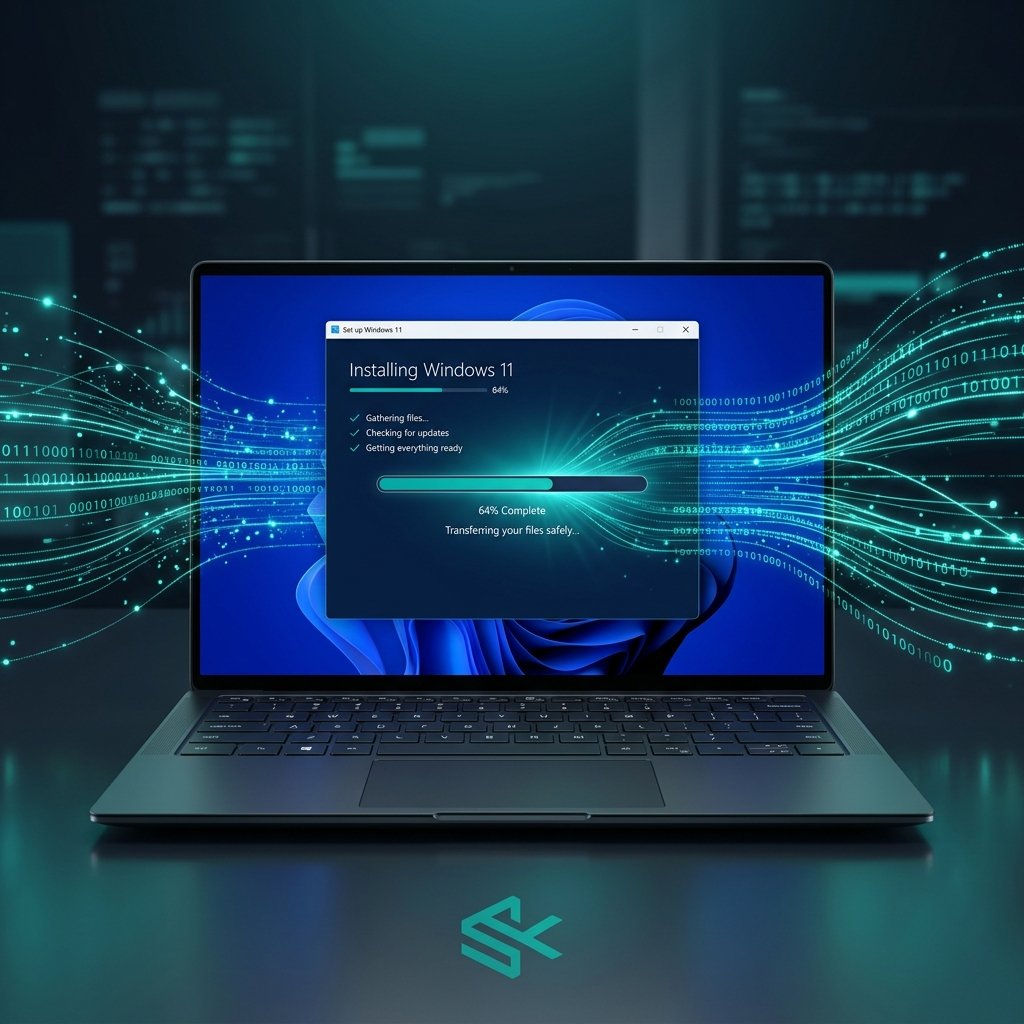
To clean install Windows 11 without losing your files, you don’t need a USB drive. You can use the built-in “Reset this PC” feature. Go to Settings > System > Recovery, and click “Reset PC.” Crucially, choose the “Keep my files” option when prompted. This will reinstall the Windows 11 operating system to fix software issues while leaving your personal documents, photos, and desktop files intact.
Why Perform a Clean Install of Windows 11?
Over time, your computer accumulates temporary files, broken registry entries, and conflicting software that can slow it down or cause random crashes. A clean install wipes the slate clean, giving you that “brand new PC” feeling.
You should consider a clean install if you are experiencing:
- Persistent blue screen errors (BSOD)
- Severe malware or virus infections that your antivirus cannot remove
- Major software glitches after a recent Windows update
- Sluggish performance that isn’t fixed by standard optimization
Method 1: Reset PC and Keep Your Files (Recommended)
This is the safest and easiest method. It reinstalls Windows from within the operating system itself.
- Open the Start menu and click the gear icon to open Settings.
- Navigate to System, then scroll down and click on Recovery.
- Under “Recovery options,” find “Reset this PC” and click the Reset PC button.
- A blue window will appear. CRITICAL: Click on Keep my files. (This removes apps and settings, but keeps your personal files).
- Choose how you want to reinstall Windows. “Cloud download” downloads a fresh copy from Microsoft (requires internet, fixes more corrupted files), while “Local reinstall” uses the files already on your PC.
- Click Next and then Reset to begin. Your PC will restart several times.
Method 2: In-Place Upgrade via Media Creation Tool
If your PC is so corrupted that you cannot access the Settings menu, you can perform an “in-place upgrade” using the Windows 11 Media Creation Tool.
- Go to the official Microsoft Software Download page.
- Under “Create Windows 11 Installation Media,” download the tool. (Read our full guide on creating a Windows 11 USB install drive if you need to boot from a flash drive).
- Run the tool and select Upgrade this PC now.
- When you reach the “Ready to install” screen, ensure that Keep personal files and apps is checked. (Click “Change what to keep” if it isn’t).
- Click Install.
Do I Need a New Product Key After a Clean Install?
In most cases, no. If your Windows 11 was already activated via a digital license tied to your Microsoft Account or your motherboard (OEM), it will automatically reactivate once you connect to the internet after the clean install.
However, if you are moving to a completely new motherboard or you were running an unactivated version, you will need a new key.
Need a genuine license? We offer affordable Windows 11 Professional and Windows 11 Home activation keys with instant digital delivery.
Frequently Asked Questions
Does “Keep my files” really save everything?
It saves data located in your user profile folders (Desktop, Documents, Downloads, Pictures, etc.). However, it does not save your installed programs or custom system settings. We always recommend backing up critical files to an external drive or OneDrive before starting, just in case of a power failure during the reset.
How long does a clean install take?
Depending on the speed of your processor and whether you have an SSD or HDD, the process typically takes between 30 minutes and 2 hours. If you chose “Cloud download,” it will depend on your internet speed.
Will a clean install remove viruses?
Yes, performing a clean install is one of the most effective ways to remove deeply rooted malware or ransomware, as it overwrites the operating system files where viruses typically hide. However, if the virus is hiding in your personal files, it may survive a “Keep my files” reset.