


How to Install Windows 11 from a USB Drive: Step-by-Step Guide (2026)

To install Windows 11 from a USB drive, you need an empty USB flash drive (at least 8GB) and access to a working computer. First, download the official Windows 11 Media Creation Tool from Microsoft’s website. Run the tool to format your USB drive into a bootable Windows 11 installer. Next, plug the USB drive into your new PC, restart the computer, and press your motherboard’s Boot Menu key to boot directly from the USB. Follow the on-screen Windows Setup prompts to select your hard drive and install the operating system. During the setup, you will be prompted to enter a 25-character product key to activate Windows 11.
What You Need Before You Start
- A blank USB flash drive: Must be at least 8GB in size. (Warning: Everything currently on the USB drive will be permanently erased during this process).
- A working computer: You need a second, working PC with an internet connection to create the bootable drive.
- A stable internet connection: The Windows 11 installation files are roughly 5GB.
- A genuine Windows 11 Product Key: You will need this during setup to unlock all features and remove the watermark.
Step 1: Create the Windows 11 Bootable USB
- Plug your blank USB drive into your working computer.
- Go to the official Microsoft Windows 11 Download Page.
- Scroll down to “Create Windows 11 Installation Media” and click Download Now.
- Open the downloaded
MediaCreationTool.exefile. - Accept the license terms, select your language, and choose Windows 11.
- Select “USB flash drive” as the media type.
- Select your plugged-in USB drive from the list and click Next.
- Microsoft will now download Windows 11 and format your USB.
Step 2: Boot Your New PC from the USB
Once the USB is ready, it is time to install the operating system on your target computer.
- Turn off the computer you want to install Windows 11 on.
- Plug the bootable USB drive directly into the motherboard.
- Turn on the PC and immediately start tapping your motherboard’s Boot Menu key.
| PC/Motherboard Brand | Common Boot Menu Key | BIOS/UEFI Key |
|---|---|---|
| ASUS | F8 | F2 or DEL |
| MSI | F11 | DEL |
| Gigabyte | F12 | DEL |
| Dell | F12 | F2 |
| HP | F9 | F10 |
| Lenovo | F12 | F1 or F2 |
- When the Boot Menu appears, select your USB Flash Drive.
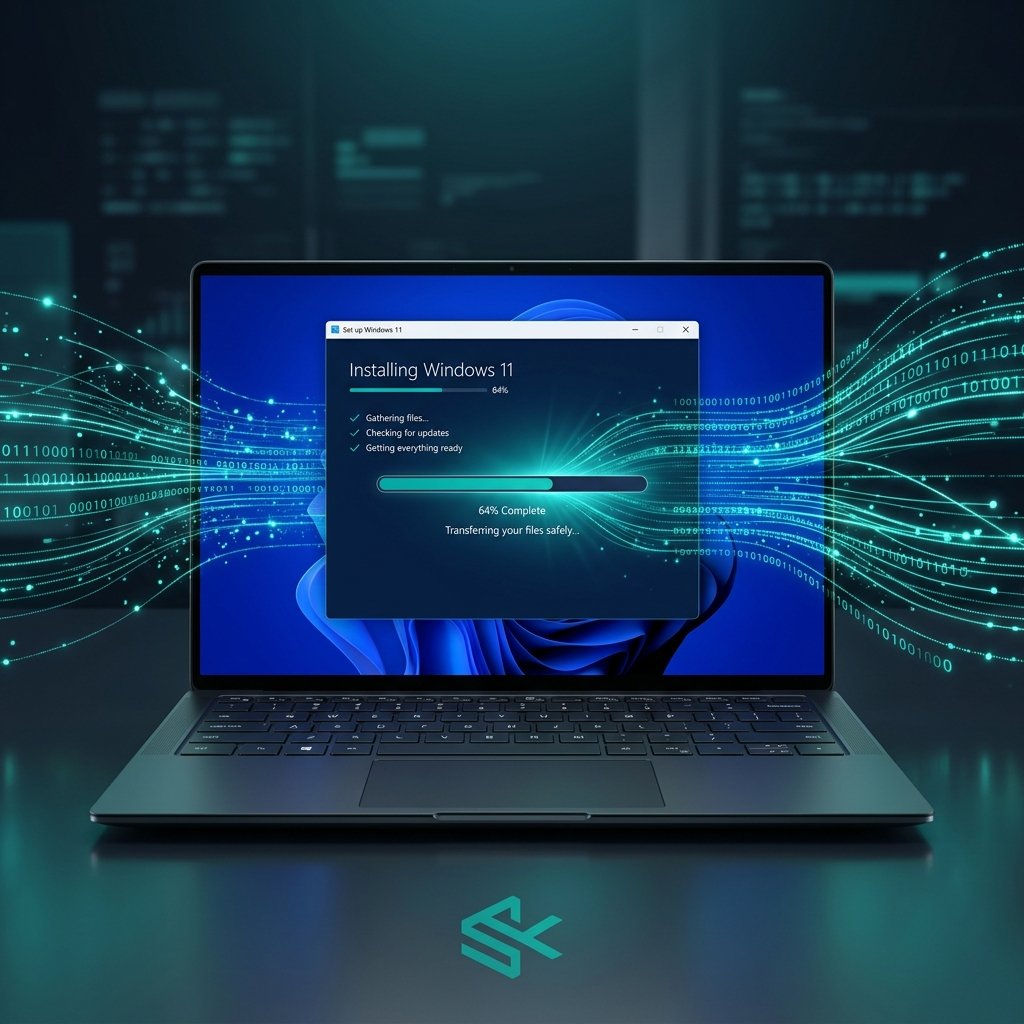
- Your PC will now boot into the Windows 11 Setup screen.
Step 3: The Windows 11 Setup Process
- Choose your Language and Time layout, then click Next and Install Now.
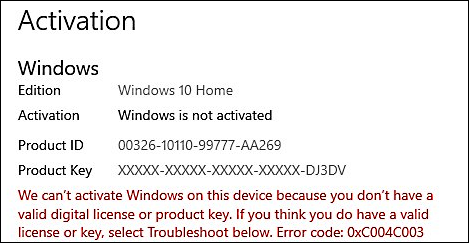
- The Activation Screen: You will be prompted to “Enter your product key.” Type in your 25-character key here. (Need a key? Grab a heavily discounted Windows 11 Home or Windows 11 Pro key from Sorted Keys).
- Accept the Microsoft software license terms.
- Select “Custom: Install Windows only (advanced)”.
- Select the empty hard drive (Unallocated Space) where you want to install Windows and click Next.
- Windows will now install! Your PC will restart several times during this process. Remove the USB drive when the PC restarts for the final time.
Frequently Asked Questions (FAQ)
Can I install Windows 11 without a product key?
Yes, you can click “I don’t have a product key” during setup to finish the installation. However, Windows 11 will remain unactivated. You will have a permanent watermark on your screen, and you will be locked out of all personalization settings until you buy a genuine key.
Will installing Windows 11 from a USB delete my files?
If you choose “Custom Install” and format your C: drive, yes, it will permanently delete all files, games, and programs on that specific drive. Always back up your important files to an external hard drive before reinstalling.
Why does my PC say “This PC can’t run Windows 11” during setup?
This usually means your motherboard has TPM 2.0 or Secure Boot disabled in the BIOS. You must restart your PC, enter the BIOS settings (usually by pressing DEL or F2), and enable both “TPM 2.0” and “Secure Boot”.