




How to Upgrade from Windows 11 Home to Pro

In this article:
- Step 1: Disconnect from the Internet (Crucial)
- Step 2: Force the Pro Upgrade
- Step 3: Activate Your Pro License
If you currently have Windows 11 Home installed, you do not need to reinstall your operating system to upgrade to Pro. You simply need to update your license key using this specific workaround.
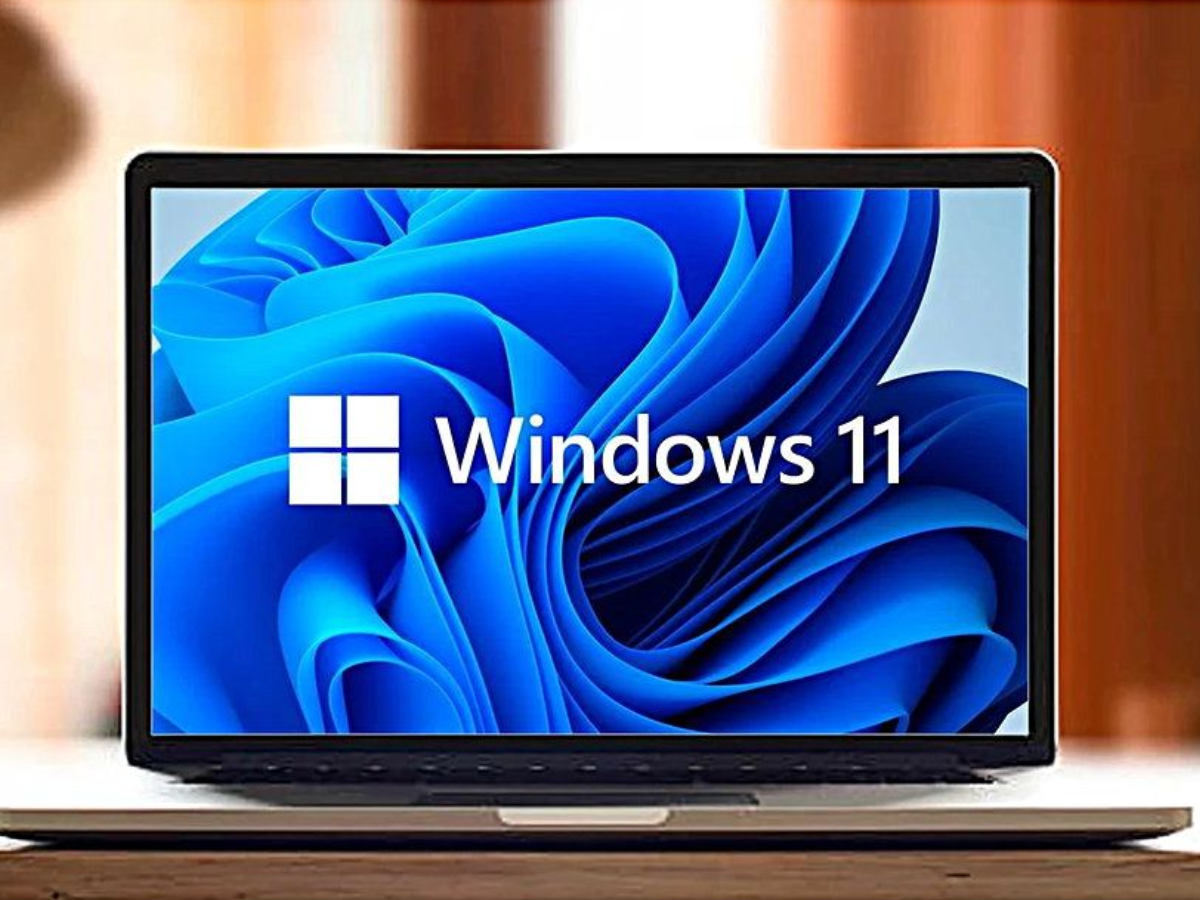
[Insert Image: The official Windows 11 Pro blue digital ribbon background with the Windows logo]
Step 1: Disconnect from the Internet (Crucial)
⚠️ Important First Step: You must disconnect your computer from the internet before proceeding. Turn off your Wi-Fi or unplug your Ethernet cable. If you do not do this, Windows will prematurely check the key and the upgrade will fail.
Step 2: Force the Pro Upgrade
We will use a generic Microsoft placeholder key to force your PC to download the Professional features.
- Go to Settings > System > Activation.
- Click on Change product key.
- Enter Microsoft’s generic upgrade key:
VK7JG-NPHTM-C97JM-9MPGT-3V66T - Click Next and then Start.
📝 Note: This generic key will NOT activate your PC; it only tells the system to unpack the Pro features. Your computer will restart (sometimes more than once) during this process.
[Insert Image: Screenshot of the “Change product key” input box]
Step 3: Activate Your Pro License
Once your computer has restarted and you are back on your desktop, it is time to apply your authentic Sorted Keys license.
- Reconnect to the internet (turn your Wi-Fi back on).
- Return to Settings > System > Activation.
- Click Change product key again.
- Enter the unique 25-character Windows 11 Pro retail key you purchased from Sorted Keys.
🎉 Success! Your system is now upgraded to Windows 11 Professional and fully activated, unlocking advanced features like BitLocker and Group Policy Management.
Related Posts

How to Upgrade from Windows 11 Home to Windows 11 Pro
The short answer: Upgrading from Windows 11 Home to Windows 11 Pro is a simple process that does not require a clean installatio...
How to Spot Counterfeit Microsoft Software Licenses
In the B2B digital landscape, deploying unauthorized or pirated software is one of the fastest ways to compromise your corporate networ...

The Hidden Costs of Software Subscription Models for Corporations
The SaaS (Software as a Service) model has completely transformed the B2B tech landscape. While subscribing to software offers immediat...