






How to Create a Windows 11 Bootable USB Drive

In this article:
- Step 1: Prepare Your USB Drive
- Step 2: Download the Media Creation Tool
- Step 3: Create the Bootable Media
✅ Prerequisites: Before you begin, ensure you have a reliable internet connection and your Windows 11 product key from Sorted Keys ready.
Step 1: Prepare Your USB Drive
Performing a clean installation of Windows 11 requires a bootable USB drive. You will need a blank USB flash drive with at least 8GB of storage.
⚠️ Warning: This process will completely erase the USB drive. Ensure you have backed up any important files currently stored on the flash drive before proceeding.
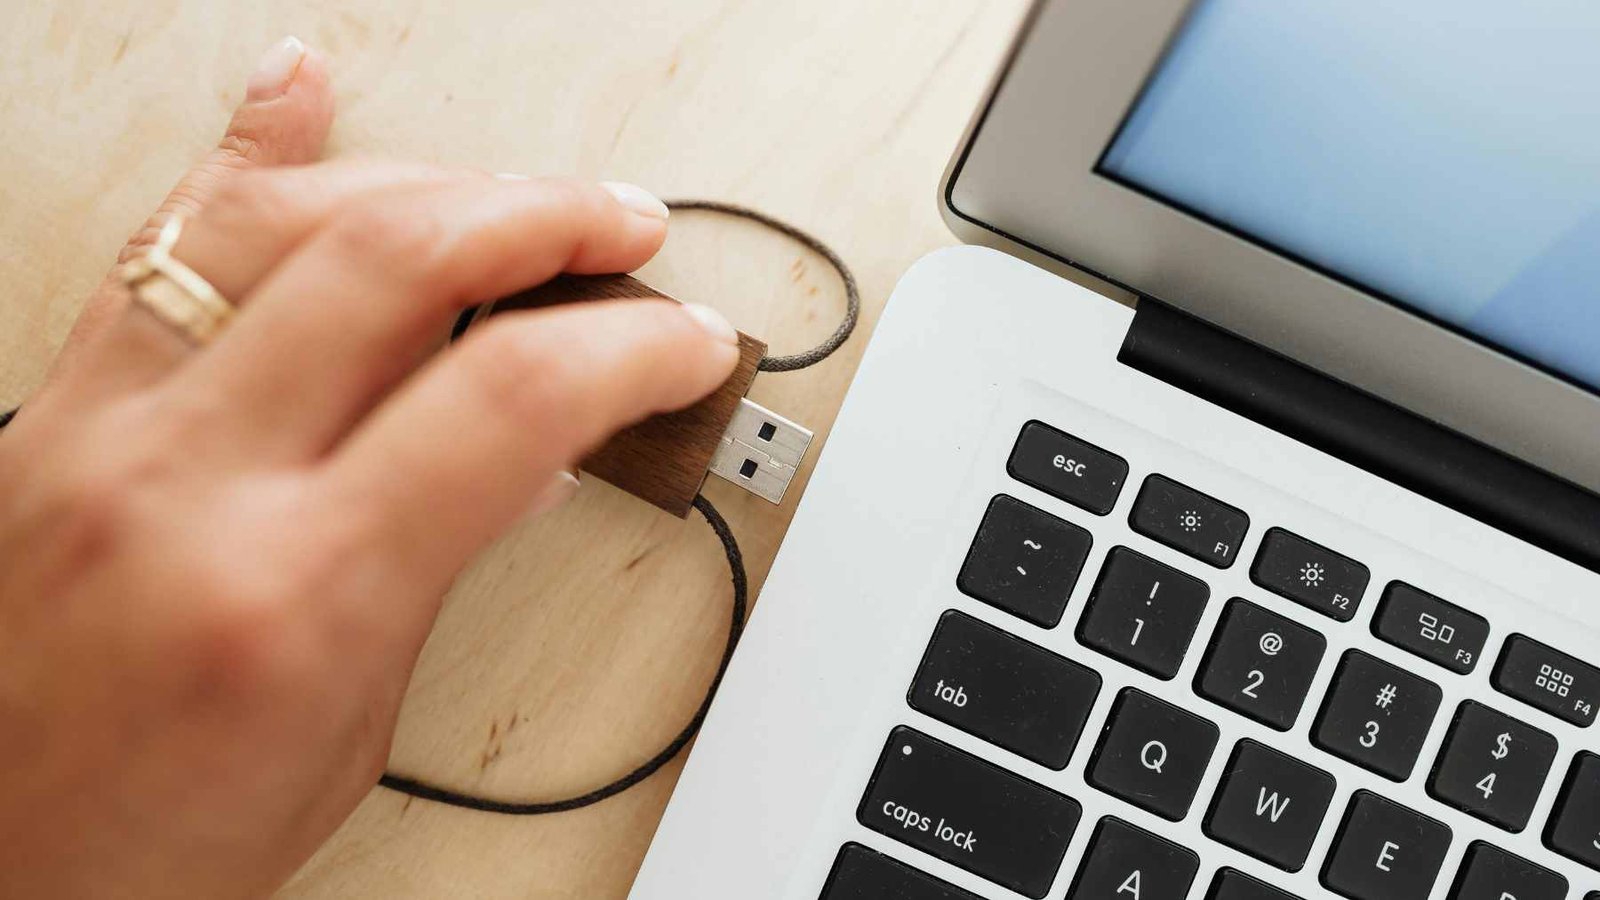
[Insert Image: A clean, top-down photo of a USB flash drive plugged into a laptop]
Step 2: Download the Media Creation Tool
Microsoft provides an official utility to safely format your drive and download the operating system.
- Go to the official Microsoft Software Download page for Windows 11.
- Scroll down to the section titled Create Windows 11 Installation Media.
- Click the blue Download Now button.
- Once the
MediaCreationToolW11.exefile downloads, open it and accept the Microsoft software license terms.
[Insert Image: Screenshot of the Microsoft download page pointing to the Media Creation Tool button]
Step 3: Create the Bootable Media
Now we will instruct the tool to turn your USB into a bootable drive.
- Select your preferred language and edition on the setup screen, then click Next.
- When prompted to “Choose which media to use”, select USB flash drive.
- Select your plugged-in USB drive from the hardware list.
- Click Next. The tool will now download Windows 11 and format your USB drive automatically.
⏱️ Note on Timing: This process may take anywhere from 15 to 45 minutes depending on your internet download speed. Do not unplug the USB drive or close the window until it says “Your USB flash drive is ready.”
Once complete, safely eject the USB. You can now plug this into your target PC, boot from the USB via your BIOS settings, and begin your clean installation!

Related Posts
Why Your Windows Keeps Deactivating and How to Stop It (2026 Fix)
Table of Contents
Direct Answer: Why is this happening?
The 3 Root Causes of Windows Deactivation...

Troubleshooting Windows Activation When Your Product Key Doesn’t Match Your Edition
One of the most common hurdles when activating Windows is discovering that your purchased license doesn't align with the versi...
How to Fix Error 0x803F7001: Windows Couldn’t Find a Valid License
Table of Contents
What Causes Error 0x803F7001?
Fix 1: Run the Activation Troubleshooter
Fix 2...

Windows 11 Won’t Activate After Update: How to Fix It
Table of Contents
Why Did a Windows Update Break My Activation?
Fix 1: Run the Windows Activation Tr...
How to Buy and Set Up a Windows 11 License for Your Custom-Built PC
Building your own custom PC is an incredibly rewarding experience, but the job isn't finished once you've screwed in the las...

Buying a Refurbished PC? Here’s How to Check If the Windows License Is Genuine
If you just bought a refurbished PC, the fastest way to check if your Windows license is genuine is to open Settings > Sy...
Where to Buy Genuine Windows 11 Product Keys: A Safe Buyer’s Guide
Table of Contents
1. Why You Need a Genuine Key
2. OEM vs. Retail: What's the Difference?
...
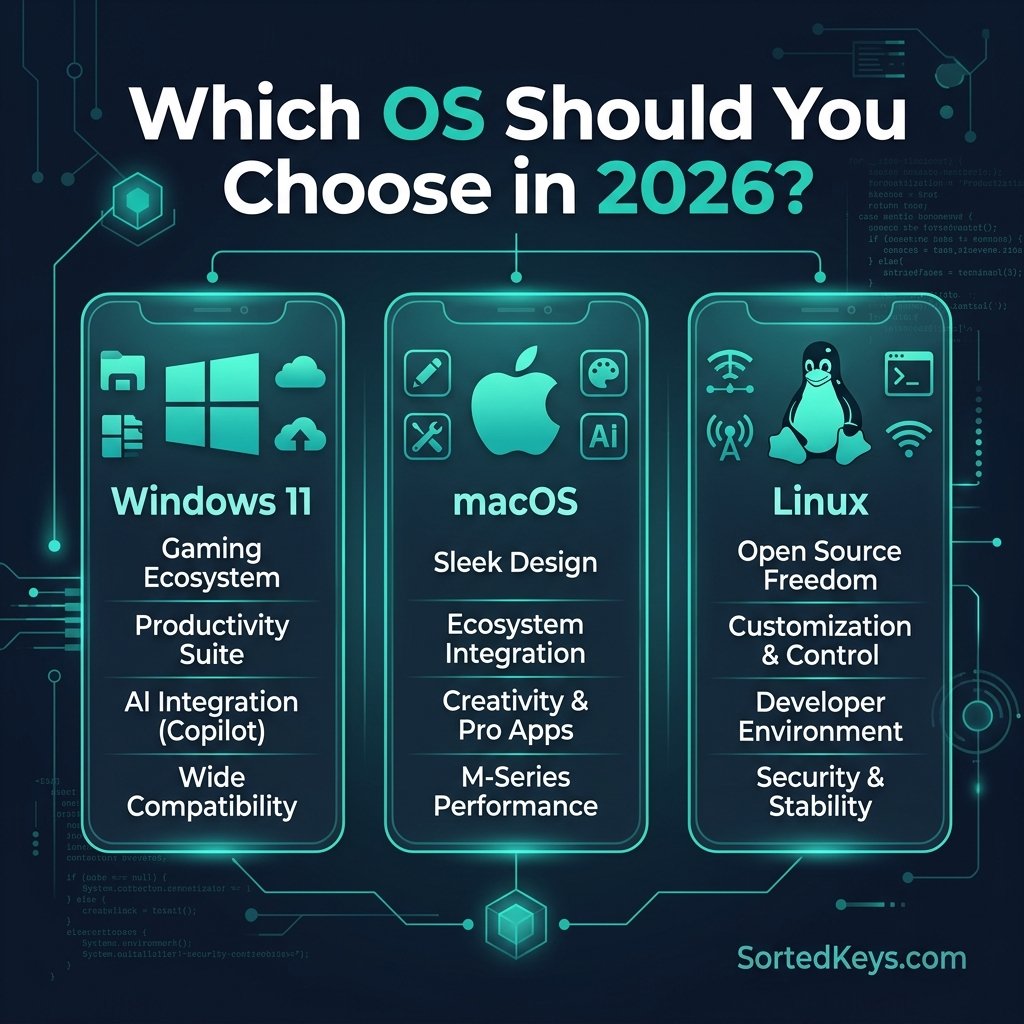
Windows 11 vs macOS vs Linux: Choosing the Right OS in 2026
The short answer: If you are a PC gamer, a corporate professional, or someone who relies on broad software compatibi...
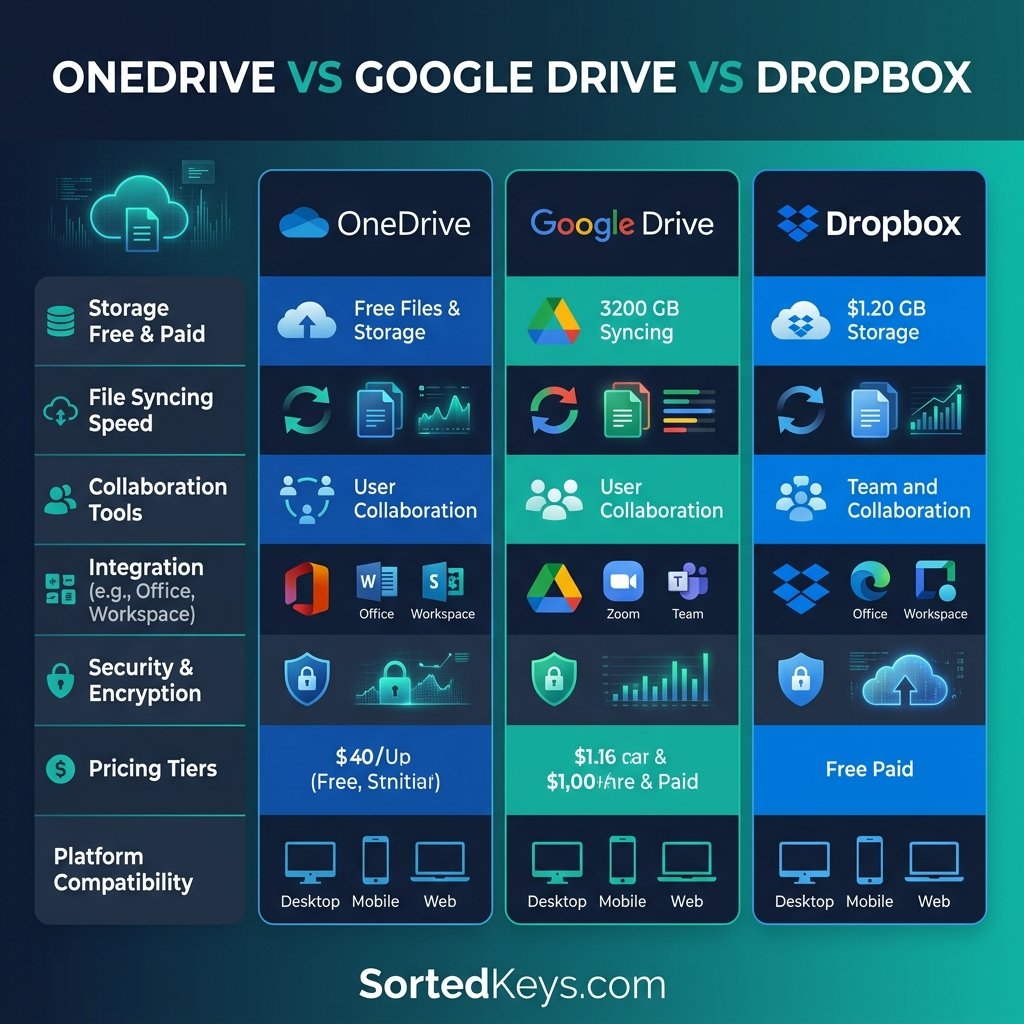
OneDrive vs Google Drive vs Dropbox: Best Cloud Storage for Windows Users (2026)
In 2026, relying solely on your computer's local hard drive is a recipe for disaster. Whether you are backing up family phot...
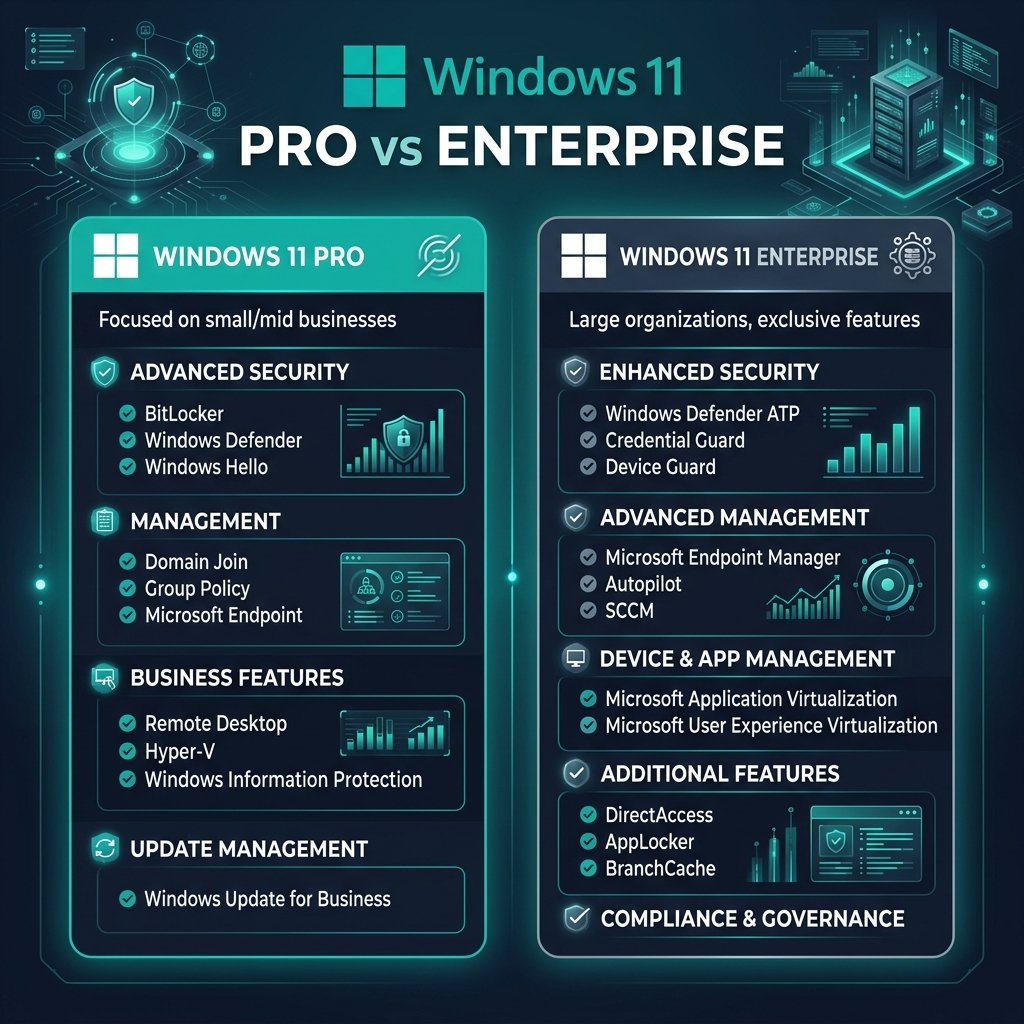
Windows 11 Pro vs Enterprise: What’s the Difference?
The short answer: Windows 11 Pro is designed for small to medium-sized businesses, power users, and professionals who ...
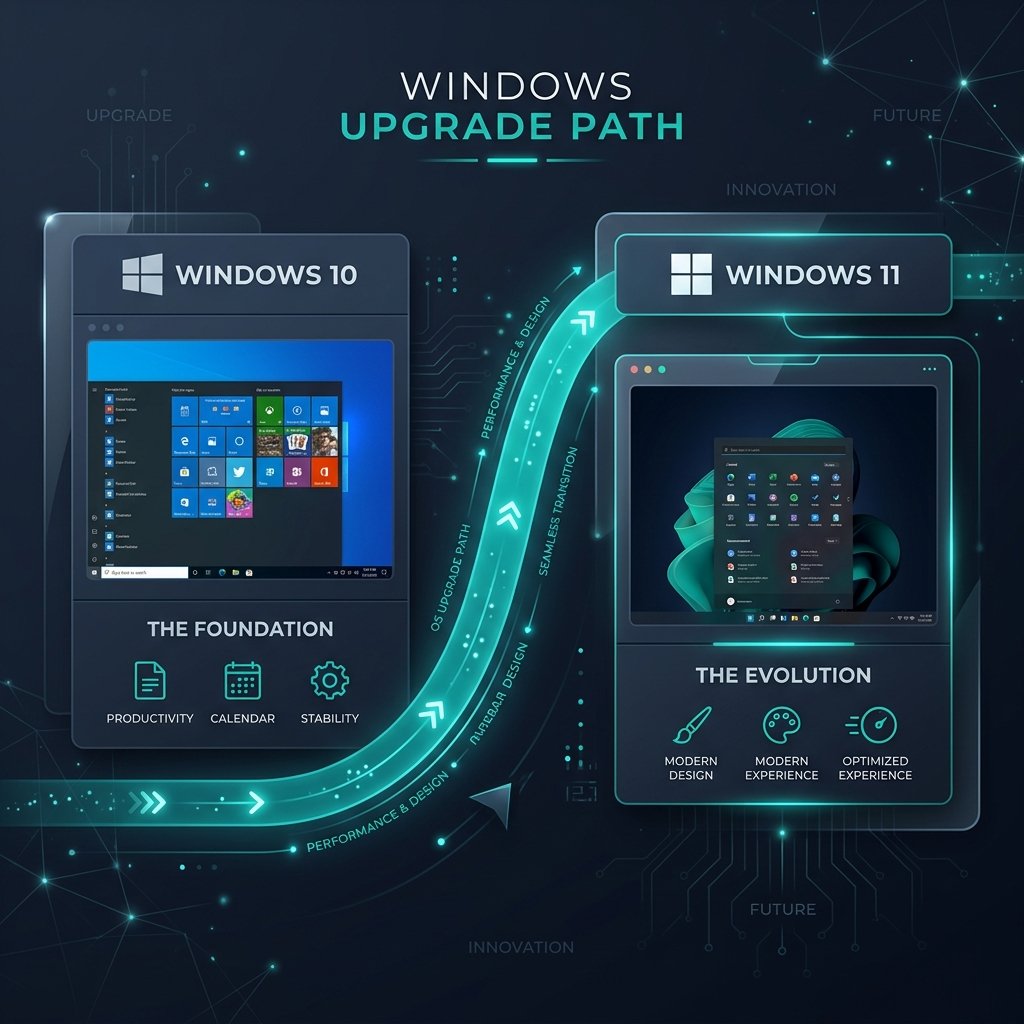
Windows 10 vs Windows 11: Should You Upgrade in 2026?
The debate between Windows 10 vs Windows 11 is more relevant than ever. With the official Windows 10 end-of-support date qui...