








How to Install Remote Desktop Services (RDS) CALs

In this article:
- Step 1: Install the Licensing Role
- Step 2: Activate the Licensing Server
- Step 3: Install Your Retail CALs
✅ Prerequisites: Ensure your Windows Server is fully activated and domain-joined before deploying RDS CALs.
Step 1: Install the Licensing Role
To allow multiple users to access your Windows Server remotely, you must first install the Remote Desktop Licensing role.
- Open Server Manager and click Add roles and features.
- Proceed through the setup wizard until you reach the Server Roles page.
- Expand Remote Desktop Services.
- Check the box for Remote Desktop Licensing and complete the installation.
[Insert Image: A server rack graphic or an icon representing network nodes/users]
Step 2: Activate the Licensing Server
- In Server Manager, go to Tools > Remote Desktop Services > Remote Desktop Licensing Manager.
- Right-click your server’s name in the left pane and select Activate Server.
- Follow the activation wizard, selecting “Automatic connection” and providing your company details.
Step 3: Install Your Retail CALs
- Once the server is activated, right-click the server name again and select Install Licenses.
- Choose License Pack (Retail Purchase) as your designated license program.
- Enter the 25-character RDS CAL product key provided by Sorted Keys.
- Click Next to finalize the installation.
Your server is now ready to broker remote connections based on your new CAL limit.

Related Posts

Fix RDS Event ID 1130: “The Remote Session Was Disconnected Because There Are No Remote Desktop License Servers Available”
Windows Server RDS Event ID 1130 (accompanied by the warning "The remote session was disconnected because there are no ...
Fix Remote Desktop Licensing Grace Period Expired (Reset 120-Day Trial via Registry)
The error "The remote session was disconnected because the Remote Desktop Services licensing grace period has expired" ...
How to Set Up a Windows Server for Your Small Business: Beginner’s Guide
Table of Contents
Why Set Up a Windows Server?
Step 1: Choose the R...

Windows Server 2022 vs 2019: Which is Best for Your Business?
Choosing the right operating system for your enterprise infrastructure is a critical decision that impacts security, performance, and c...
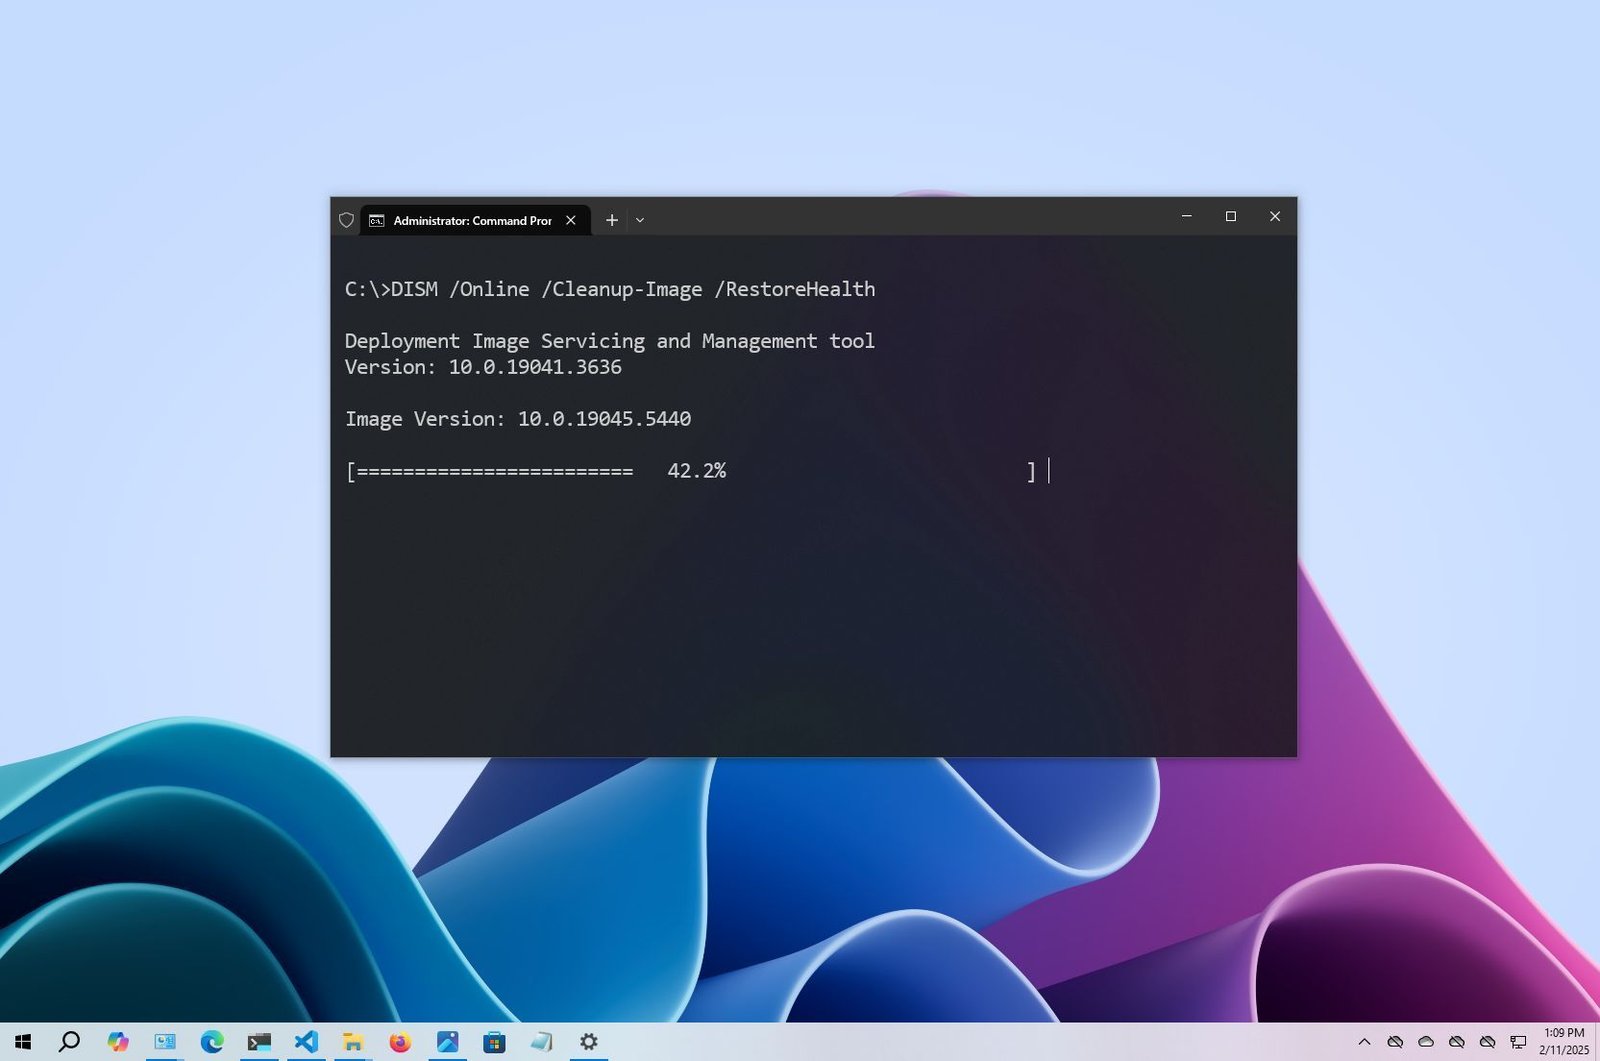
How to Convert Windows Server Evaluation to Retail
In this article:The Server Evaluation Limitation
Step 1: Verify Available Editions
Step 2: Run the DISM Conversion Comman...