




How to Set Up a Windows Server for Your Small Business: Beginner’s Guide

Table of Contents
If your small business relies on multiple employees sharing files via email or relying on scattered external hard drives, it is time to upgrade your infrastructure. Setting up a dedicated Windows Server centralizes your data, provides enterprise-grade security, and streamlines user management.
While the idea of deploying server infrastructure might sound intimidating, modern Windows Server environments are highly intuitive. In this beginner’s guide, we will walk you through exactly how to set up a Windows Server for a small business from start to finish.
Step 1: Choose the Right Server Edition
Before installing anything, you must select the appropriate software layer. For 90% of small businesses, the Standard Edition is the perfect fit. It allows for file sharing, print serving, and centralized domain control.
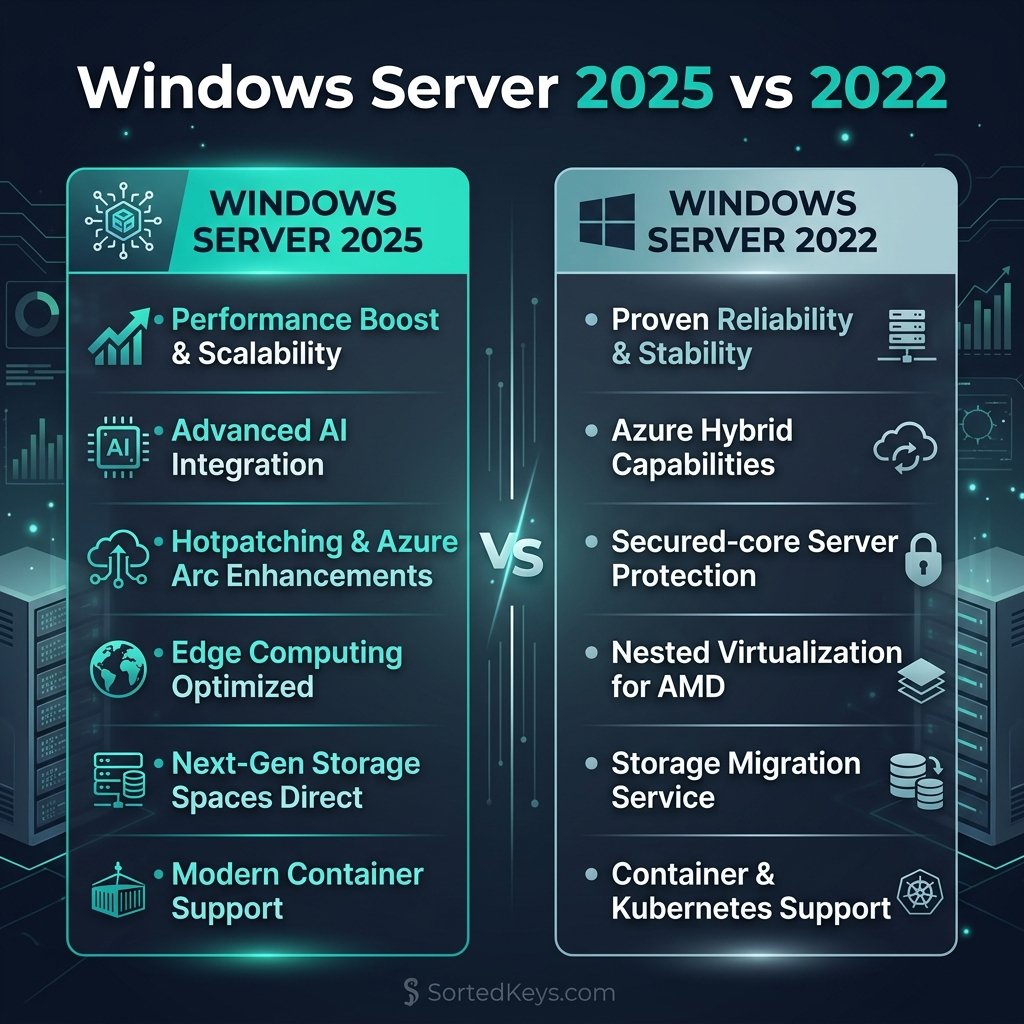
If you have older hardware, Windows Server 2019 Standard is a highly stable and cost-effective choice. If you are purchasing new hardware and want the latest security enhancements (like Secured-core server), you should opt for Windows Server 2022 Standard.
Need Help Licensing Your Server?
Ensure your deployment is 100% compliant with genuine, retail licensing keys from SortedKeys.
Step 2: Prepare the Hardware & Network
You do not necessarily need a massive server rack. A standard tower server or a high-end desktop can function perfectly well as a small business server, provided it has:
- A multi-core processor (Intel Xeon or AMD EPYC recommended).
- At least 16GB to 32GB of ECC RAM.
- Redundant storage (RAID 1 or RAID 5 configuration) to prevent data loss if a drive fails.
Plug your server directly into your main network switch or router using a high-speed Ethernet cable. Never run a server over a Wi-Fi connection.
Step 3: Install the Operating System
To begin the installation, you must create bootable installation media. You can download the official ISO file directly from the Microsoft Evaluation Center.
Boot your server machine from the USB drive and follow the installation wizard. Crucial Step: When prompted, make sure to select the “Desktop Experience” version. If you do not select this, Windows will install the “Core” version, which lacks a graphical user interface and must be managed entirely via command line.
Step 4: Configure Active Directory (AD DS)
Active Directory Domain Services (AD DS) is the brain of your network. It allows you to create user accounts, set passwords, and dictate exactly what files each employee can access.
To set this up, open the Server Manager dashboard and click “Add roles and features”. Select “Active Directory Domain Services” and follow the prompts. Once the installation completes, click the flag icon at the top of the dashboard and select “Promote this server to a domain controller”. You will be asked to create a new “Forest” (e.g., yourcompany.local). This establishes your localized business network.
Step 5: Set Up File Sharing and Permissions
With your domain established, you can now create a centralized storage hub. Open the “File and Storage Services” menu in Server Manager and create a new Share.
Create separate folders for different departments (e.g., “HR”, “Marketing”, “Public”). Right-click each folder, go to Properties > Security, and add the specific Active Directory users who are allowed to read or edit those files. Now, your employees can map this network drive on their local Windows 11 Pro PCs and securely access company data.
Frequently Asked Questions
Do I need CALs (Client Access Licenses) for my small business server?
Yes. By default, Windows Server requires you to purchase a Client Access License (CAL) for every user or device that connects to the server. If you have 15 employees accessing the server, you need 15 User CALs in addition to the base server license.
Can I use a regular PC as a Windows Server?
While physically possible, it is not recommended for production environments. Standard PCs lack ECC (Error-Correcting Code) memory and redundant power supplies, making them highly vulnerable to crashes and data corruption under continuous 24/7 server workloads.
What is the difference between Server Standard and Datacenter?
The primary difference lies in virtualization rights. The Standard edition allows you to run two virtual machines (VMs), which is plenty for most small businesses. The Datacenter edition allows for unlimited virtual machines and is designed for large-scale enterprise cloud environments.