


How to Upgrade from Windows 11 Home to Windows 11 Pro


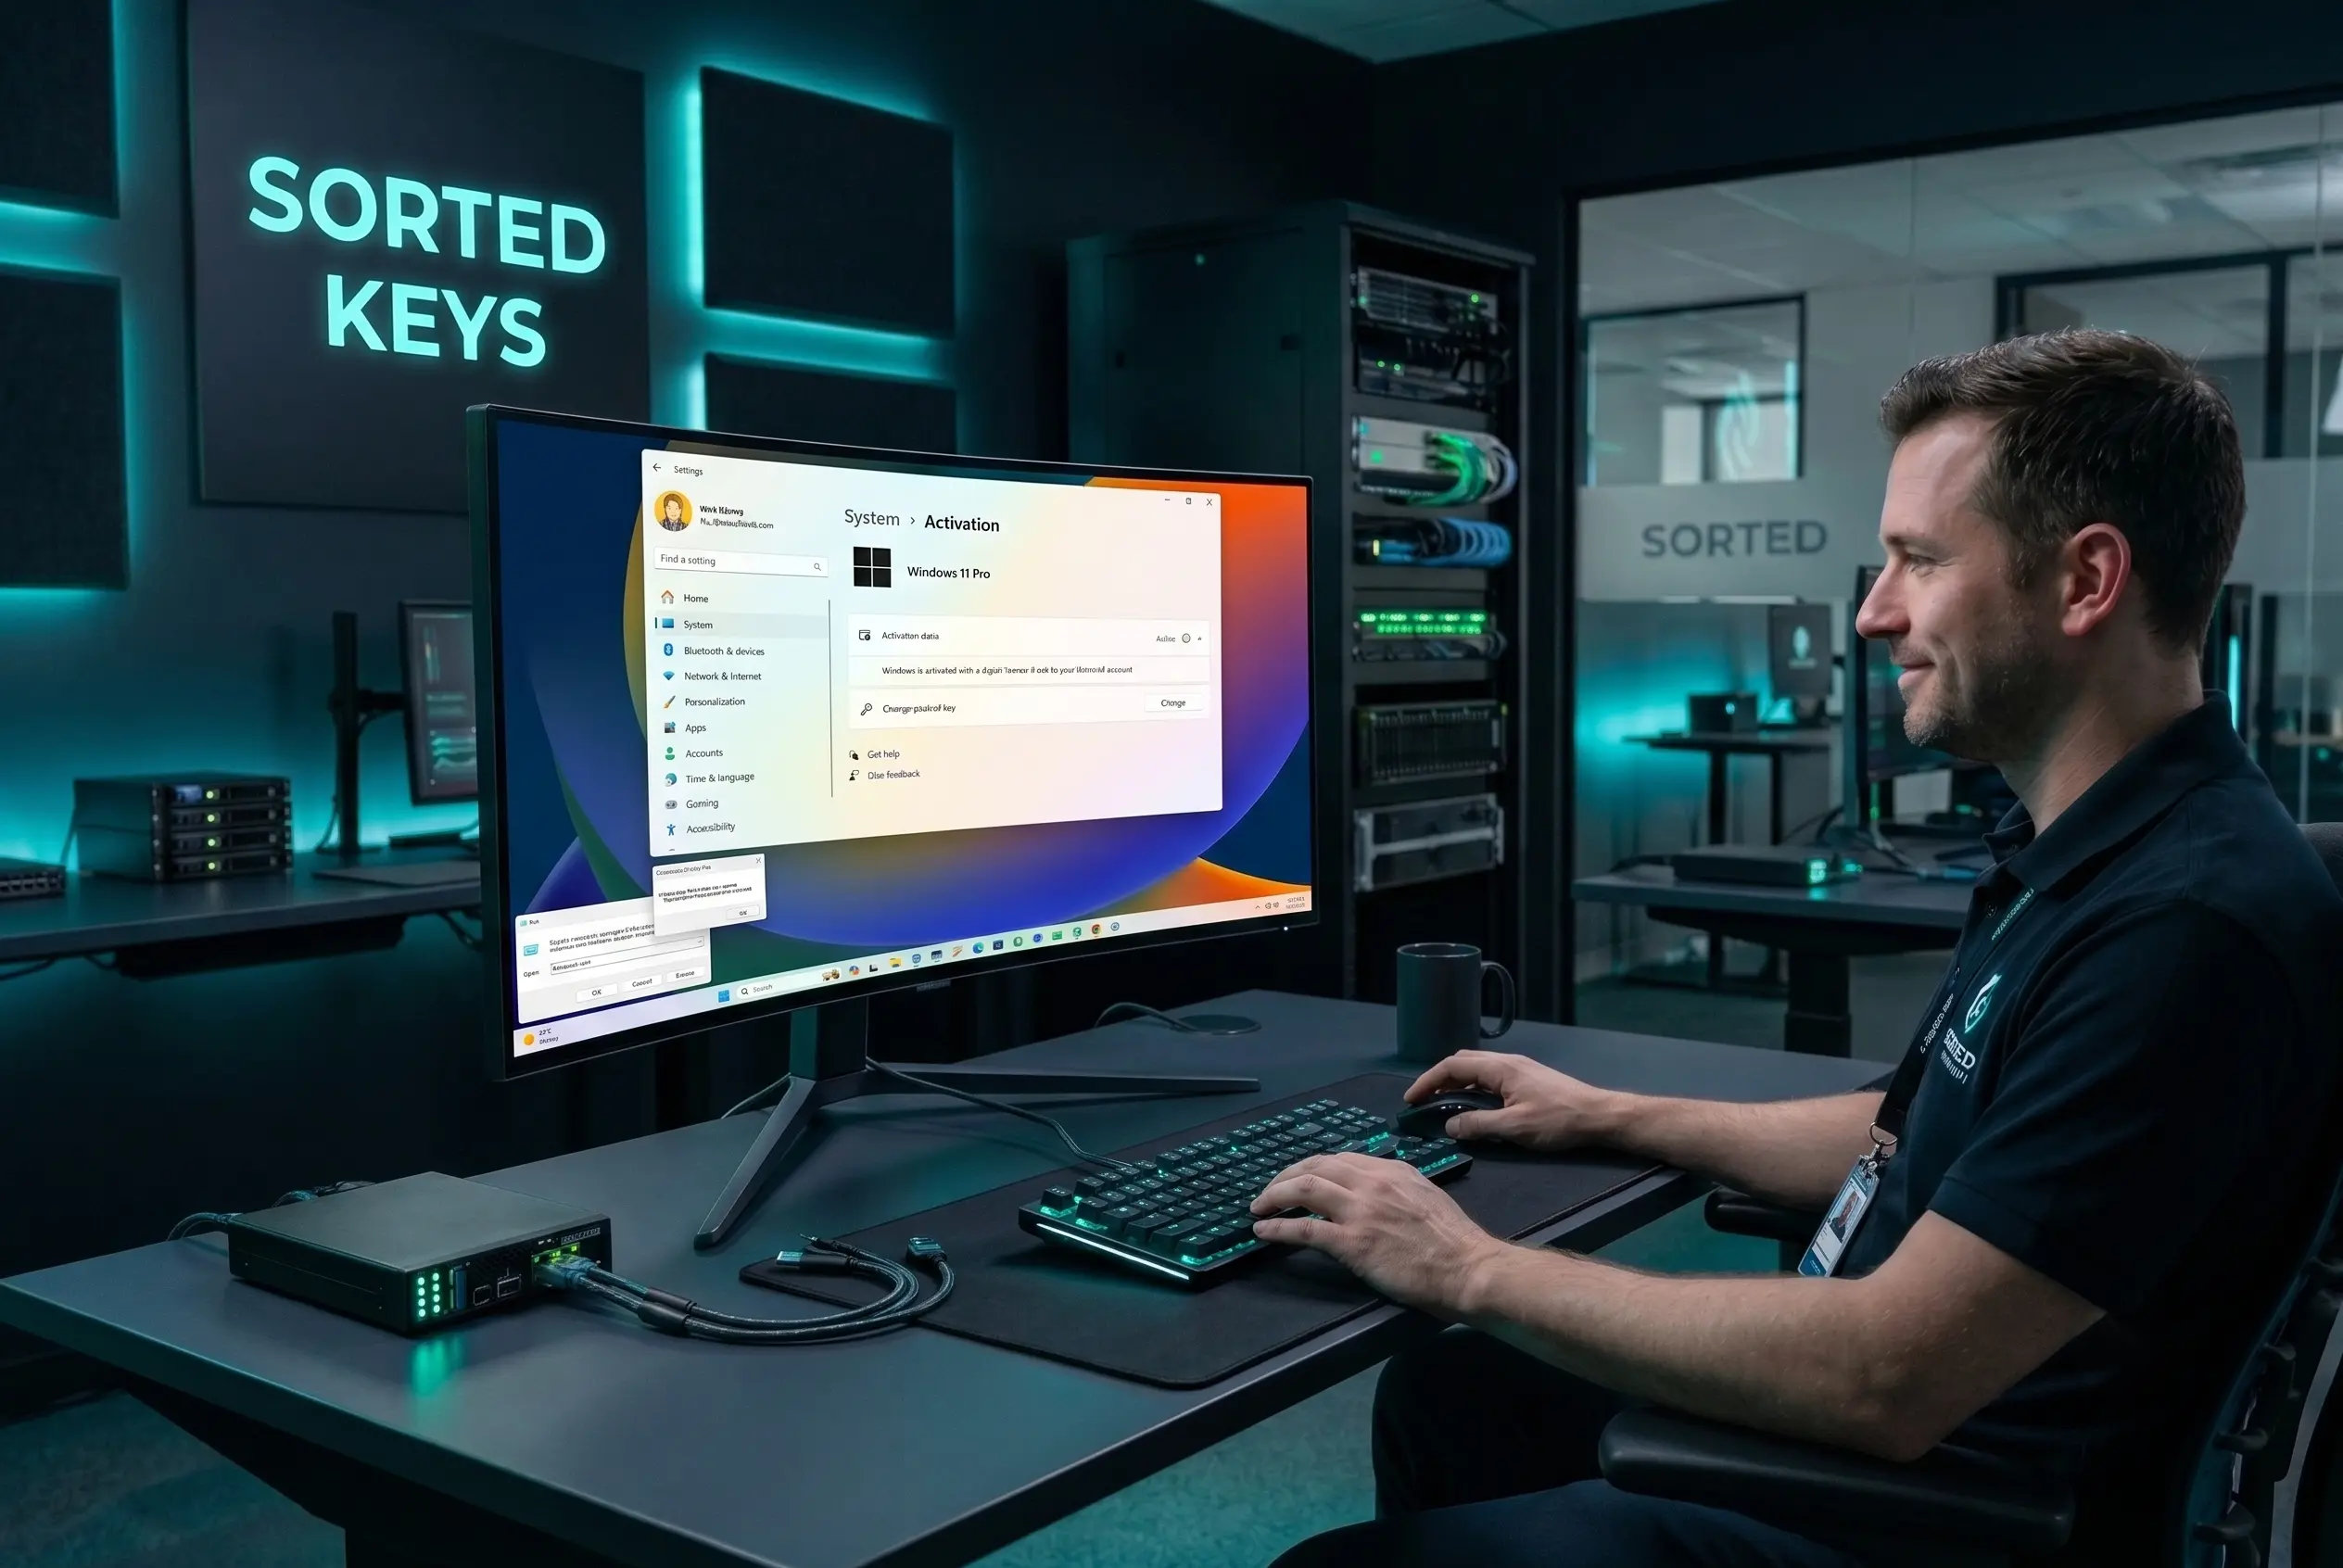
The short answer: Upgrading from Windows 11 Home to Windows 11 Pro is a simple process that does not require a clean installation or data wipe. Simply navigate to Settings > System > Activation, click Change product key, and enter a valid Windows 11 Pro license key. Your system will download the required features, restart, and boot directly into Windows 11 Pro with all your files and applications safely intact.
While Windows 11 Home is perfect for casual users and gamers, power users and professionals eventually find themselves hitting a wall. You might need to secure sensitive files with BitLocker, run virtual machines using Hyper-V, or connect your machine to a corporate domain. These enterprise-grade features are locked entirely behind Windows 11 Pro.
If you’re ready to unlock your PC’s full potential, this guide will show you exactly how to execute the upgrade in less than 10 minutes.
Ready to Upgrade?
You can purchase a genuine Windows 11 Professional License Key from Sorted Keys for a fraction of the retail price. Instant delivery to your email!
What Do You Gain by Upgrading to Windows 11 Pro?
Before initiating the upgrade, it’s worth understanding exactly what features you are unlocking. Windows 11 Pro builds directly on top of the Home edition, meaning you lose nothing but gain powerful administrative, networking, and security tools.
| Feature | Windows 11 Home | Windows 11 Pro |
|---|---|---|
| BitLocker Device Encryption | ❌ Basic encryption only | ✅ Full drive encryption |
| Hyper-V (Virtual Machines) | ❌ Unavailable | ✅ Included natively |
| Windows Sandbox | ❌ Unavailable | ✅ Safe testing environment |
| Active Directory Support | ❌ Unavailable | ✅ Join domains and Azure AD |
| Remote Desktop (Host) | ❌ Client only | ✅ Host and connect remotely |
How to Upgrade to Windows 11 Pro (Step-by-Step)
Unlike upgrading from an older operating system, moving from Home to Pro is a feature unlock rather than a full operating system overhaul. Because of this, the process is seamless and safe. If you haven’t bought your new operating system yet, you can equip up to 5 devices with our Windows 11 Pro bundle.
Step 1: Check Your Current Activation Status
- Click the Start button and open Settings (or press
Win + I). - Navigate to System on the left sidebar.
- Scroll down and click on Activation.
- Verify that your current Windows 11 Home is active. If you aren’t sure where your current license came from, check out our guide on how to find your Windows product key.
Step 2: Enter Your Windows 11 Pro Key
- On the same Activation screen, look for the section titled Upgrade your edition of Windows.
- Click the button labeled Change product key.
- A prompt will appear. Carefully type or paste your new 25-character Windows 11 Pro license key.
- Click Next.
Step 3: Complete the Upgrade
- Windows will verify your key with Microsoft’s servers. Once validated, click Start to initiate the upgrade.
- Do not turn off your PC. Your computer will spend a few minutes downloading the extra Pro features and installing them in the background.
- Your system will automatically restart once or twice. When it boots back up, you will be running Windows 11 Pro!